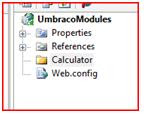
2. Create a new folder in the solution explorer that explains the name of the control.

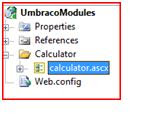
3. Add a new Web User Control to the folder you just created

4. Design your .ascx file the same way you normally design a .aspx page, in this example we are going to take 1 input field and the calculate the GST amount, in New Zealand the GST amount is 12.5%
Amount <asp:TextBox ID="txtAmount" runat="server" />
<asp:Button ID="btnSubmit" Text="Submit"  runat="server" /> <br />
<asp:Label ID="lblResult" runat="server" />
5.    Create a click event for the Submit button
    protected void btnSubmit_Click(object sender, EventArgs e)
        {
           double GST = 1.125;
           double Result;
           Result = double.Parse(txtAmount.Text) * GST;
           lblResult.Text = Result.ToString("0.00");
        }
6. Build the project
7. We now need to copy the files we just created to the Umbraco installation either by copy paste or using FTP. Copy the calculator.ascx file to usercontrols directory and the UmbracoModules.dll to the bin directory.
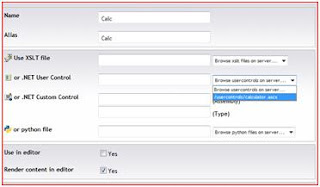
8. Create a new Marco in the Umbraco control panel.

You should see your user control in .net user control drop down list, if you select this, also tick Use in Editor and click save.
9. All left to do is to add the user control to any pages you want it to appear on. Go to the content tab in Umbraco, select the page you want then hit the insert macro button on the nav bar, you should see you macro appear.
10. YOUR DONE!
In part 2 we will see how to pass variables from Umbraco back to your user control.

